In this Vray quick tip video, learn how to adjust the size and quality of your renderings in Vray!
In this video, I just wanted to give a quick run-through on how to adjust the resolution and size of your renderings in Vray for SketchUp, as well as your quality settings.
When you’re working with renderings, you don’t want to do your test renders on super high setting, super high resolution images – the larger your image, and the higher your settings, the longer your rendering is going to take.
This is a model from a tutorial I did on my other channel, the SketchUp Essentials, teaching you how to use HDRI images for lighting and backgrounds within your models.
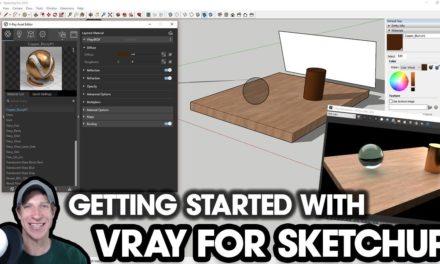
All of the options we’re going to change are located within the settings tab of the Vray asset editor.
Vray Resolution Options
- First of all, let’s take a look at our resolution options. Click on the gear to get into your render settings – If you look down, there’s a little arrow for render output. Within this section, you can adjust the resolution and aspect ratio of your rendering.
- The safe frame is going to indicate which part of your viewport will be displayed when you run your rendering – it basically shows you which part of your image will get rendered with your currently selected aspect ratio.
- You can adjust the size of your image by adjusting the values within the image width/height section – note that these values will get locked to a certain Aspect ratio based on whichever ratio you have selected.
- Note that you can make these values smaller for a faster render, and larger for a slower, more detailed render.
Vray Rendering Quality Settings
Now let’s take a look at the quality settings. To do this, go up to the dropdown labeled “Renderer.”
- Note that depending on if you have an interactive render or a regular render selected, your quality options might not show up. These options only show up if you have a regular render selected.
- Once you select a regular render, the option for quality will show up. You can adjust the bar from left to right to select quality levels ranging from Draft, which is very fast and creates a
- very noisy image, all the way to very high, which will take much longer but will generate a more detailed image.
You can adjust these settings to create faster test renders, then turn the settings up when you’re ready to create your final render!

