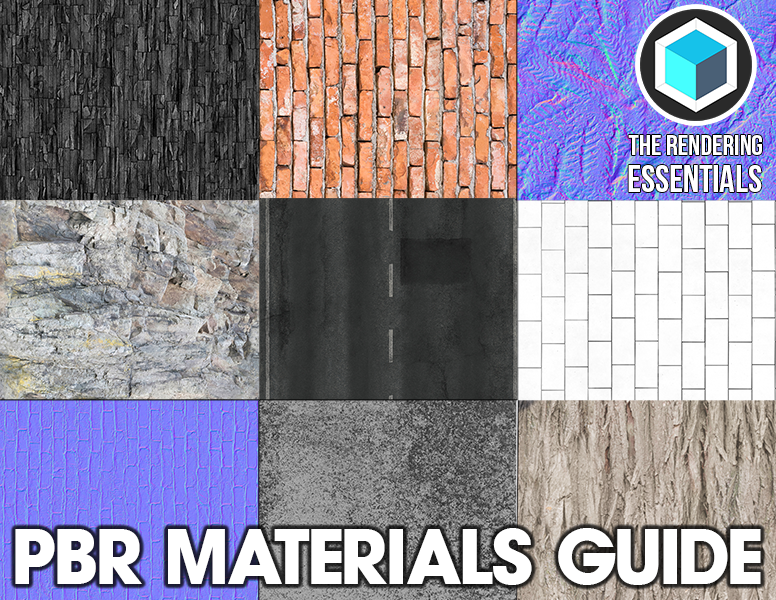
In today’s video, learn to use Bump Maps and Displacement maps in Vray for SketchUp to create realistic rough surfaces in your renderings. In addition, learn the benefits of both Bump Maps and Displacement maps, and when to use each of them in your Vray Renderings!
In this video, I want to talk about the difference between bump mapping and displacement mapping in Vray for SketchUp. Both of these options are designed to help simulate the bumps and roughness that naturally come with materials in the real world without having to actually model that detail.
BUMP MAPPING
Bump mapping uses an image in order to simulate bumps on a flat face. Basically, Vray will use the texture image to determine where it should simulate bumpiness within your model. It’s basically a shading effect applied to your model.
To test this, let’s add a bump map to a simple material from SketchUp. To do this, start by applying a color texture to your face in SketchUp. Then, go into your maps section of your materials editor and add a bump map material. As you can see, in your rendering, you know have that bump map applied to your white material.
The best way to do this is to use a texture type that actually has a bump map image associated with it. If you have an actual map of your material, you’ll notice that your result is much better. The Vray materials built into Vray have actual bump map images associated with them that help you get a much better result.
You can adjust the strength of the bump using the “Amount” slider in the maps area of your materials editor.
DISPLACEMENT MAPPING
One of the drawbacks of bump mapping is that sometimes, you might not be able to achieve the depth that you’re looking for with a bump map, so you may want to try a displacement map instead. What a displacement map does is actually move your geometry within your render to give you an accurate simulation of a rough material.
So the first thing to note when working with displacement mapping (at least in my experience), is that it really works best with materials applied to groups of geometry. I was not able to get it working with raw geometry.
Notice that when you run your render now, Vray is actually changing the location of the geometry within your face, rather than just simulating a bump with light.
You can adjust how strong this effect is by adjusting the amount setting within Vray.
This will also work with your built-in Vray materials, just make sure to go in and apply your bump map to your displacement map.
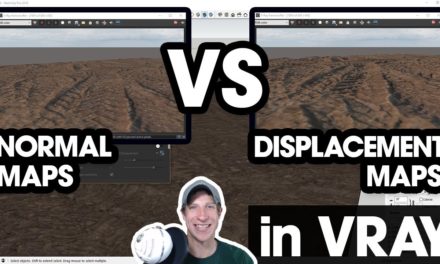
Notice that the materials themselves simulate the roughness of the material much more accurately with a displacement map. However, you’ll also notice that displacement maps take SIGNIFICANTLY more time to render that bump maps, so you may not want to use them unless you’re trying to simulate fine detail.
Larger edge length = faster render times, lower quality
Once you’ve grouped your geometry, you’re then going to go in and enable displacement mapping in the material settings. You can then apply a map in the same way that we applied the bump map material.


