In this video, we go through a start to finish, easy to follow tutorial for creating your first rendering in D5 Render!
D5 Render Beta Link
https://www.d5techs.com/
In today’s video, we’re going to set up a rendering from start to finish inside of D5 Render! We’ll walk through everything from importing your models from SketchUp through setting up your lighting and materials so that you can export a photorealistic rendering!
Start off – import your model – “create new”
We’re going to focus on 3 things when creating a rendering inside of D5 render (or really any other program)
Model – set up everything in your actual model itself – in this case, that’s going to be your bed, your lights, and your bedside table. Apply materials inside of SketchUp – this is going to be a bit faster than doing this inside of D5. Make sure everything looks as it should
Lighting – when you import your model, you’re going to want to set up your environment lighting. In this case, since we’re looking at an image that’s being lit through a window, you’re going to want to focus on your environment rather than artificial lights. A good way to do this is to check the box for the “clay render,” as this will allow you to analyze the lights and shadows.
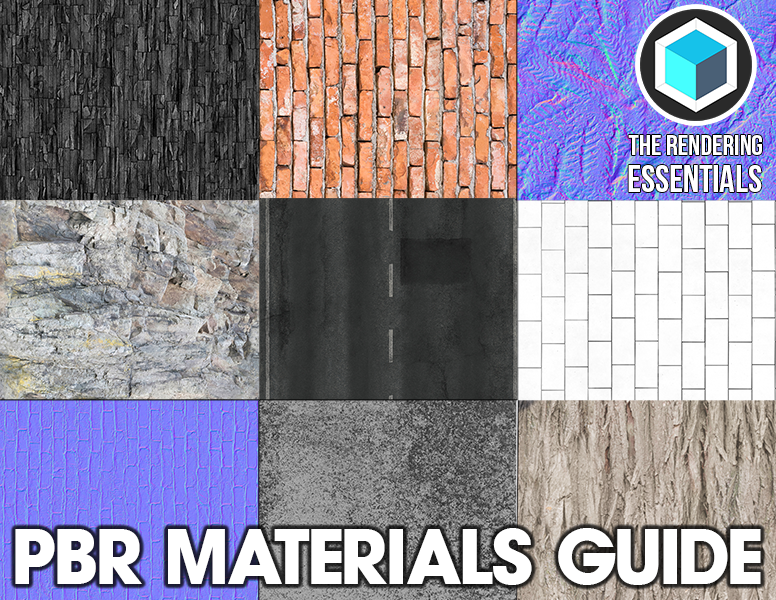
Materials – go through and adjust your materials. D5 currently follows a specular workflow, which I talk about in my free PBR materials guide. Basically, you’re going to set up different aspects of your materials, which will adjust the way that they look. You can adjust things like roughness, which will adjust how light reflects off your object, normal, which makes your materials look bumpy or not, and more!
MY PC SPECIFICATIONS
https://kit.co/TheSketchUpEssentials/sketchup-modeling-and-youtube-creation-kit
Disclaimers: all opinions are my own, sponsors are acknowledged. Product Links in the description are typically affiliate links that let you help support the channel at no extra cost.


