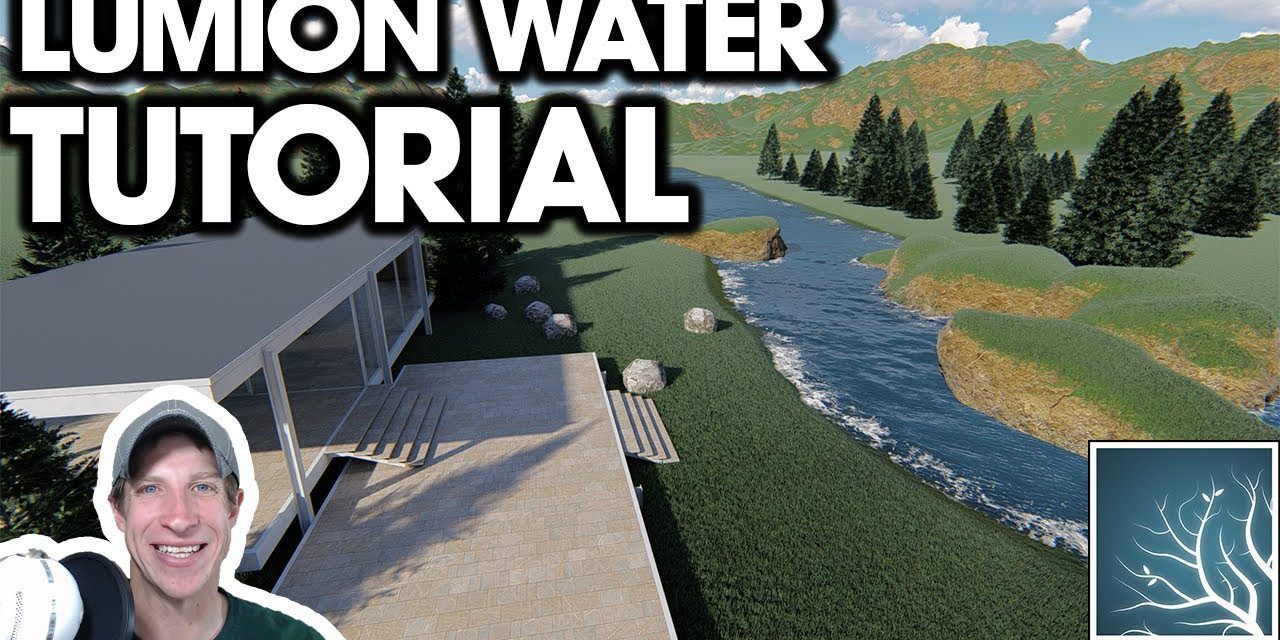
In this video, learn how to create a pool, a lake, an ocean, and a RIVER using Lumion’s water creation tools and materials!
This comprehensive guide will explain how to use all the water tool in Lumion!
DOWNLOAD LUMION
http://www.lumion.com
There are basically 3 different ways to add water in Lumion.
Ways to add water in Lumion
Water Plane
If you only need water at a certain location in your rendering, you can add a water plane. This is basically a thin plane with no thickness, with a surface that looks like water. You can use this to create pools or lakes in Lumion. By placing a water object below your plane within Lumion, then use the lower terrain option to make part of the ground go lower than the terrain, resulting in the water showing through, creating a natural lake effect.
Ocean
Another way to add water to your rendering is to turn on the ocean. The ocean is basically a body of water the size of the maximum Lumion map. You can adjust the height of the ocean so that the water only shows through in areas where you lower your terrain, or you can use it to create a map completely full of water. The water settings are all editable, including wave size, foam, wind direction, color, and more!
Water Material
Finally, you can also apply water as a material using the materials section of Lumion. This works just like you’d apply any other material – simply select a material type within Lumion, go into the custom materials section, and find the option for water. Water applied as a material has many of the same properties as the ocean water.