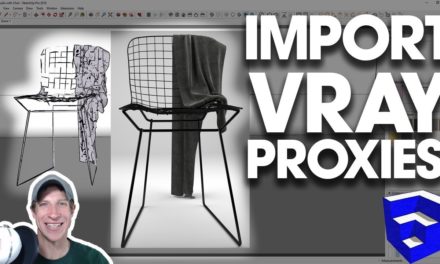
In this Vray 3.6 for SketchUp tutorial, learn to use Vray proxies to create high quality renderings with high polygon models without slowing down your SketchUp models!
In today’s video, we’re going to talk about using Vray proxies to speed up your rendering models.
Basically, a proxy is a replacement within your model that is used to take the place of a high polygon model. This can be especially useful because SketchUp doesn’t always handle very high polygon models very well. However, that being said, usually the most realistic models for rendering are also high polygon, so we can use proxies to bring those items into our renderings without having to bring them into SketchUp.
Vray allows you to export your object as a proxy file, will import as a normal mesh at render time only.
Let’s say, for example, that we want to render these 3 trees (trees are from Skatter’s model library). They’re very detailed, and contain a LOT of geometry. If you look at the model size for just these 3 trees, it’s over 61 MB. If we were to add a lot of these trees, our SketchUp model would quickly become unusable from just the amount of geometry in the trees.
I do want to note that Skatter also has some built-in tools for creating render only models that we’ll discuss in a future video. However, in this case, I want to focus specifically on Vray Proxies.
What I want to do is export each one of these trees to a render proxy model (or a VRMesh file). That way, when we create our render, Vray can reference these models, but without all of the geometry being in our actual model.
When we click the create Vray proxy button, we’re going to be given a series of options. These will affect the size of the object that’s left in your model once you export your proxy. Basically, they allow you to pick how realistic the proxy that’s left is.
You basically are given 3 options for how the proxy is created.
- Face Skipping – This is the fastest and lightest weight proxy you can create. It will simply display random faces from your original mesh.
- Vertex Clustering – This method uses a grid to reduce the amount of geometry in your proxy model. It doesn’t necessarily keep all the fine details, but creates a decent approximation of your object.
- Refined Clustering – This is a two step process within Vray – it uses vertex clustering to start your proxy creation, then finishes your proxy off with an algorithm. This creates the most detailed proxies, but also the slowest.
You can also adjust the number of number of faces created in your proxy using the proxy slider.
Overwrite existing files allows you to save over any mesh file that might exist in your model in the location you’re trying to save.
Replace object with proxy will swap out your selected geometry with your proxy. Otherwise, this will create your Vrmesh, but it won’t remove the base geometry from your model.
You can adjust the way that your proxies preview in your Vray asset editor – there are options for
- Proxy Preview – Shows your proxies exactly as you created them
- Whole Mesh – Displays the original object geometry within your model. Note that this can be very slow
- Bounding Box – this creates a box within the boundary of the object group – it’s basically good for showing the location of your proxies without showing your details
- Point (Origin) – shows basically 4 points at the boundary of your proxy, as well as the proxy origin point of the axes
- Custom Preview – theoretically the idea behind this one is to allow you to change the proxy file without updating the preview geometry
Note that you can also import proxy objects into your models in much the same way that you can import components, allowing you to create a library of objects that you can import later. However, you’re also going to need to export your materials for import into your object in the future. I’m going to cover this in my next video.

