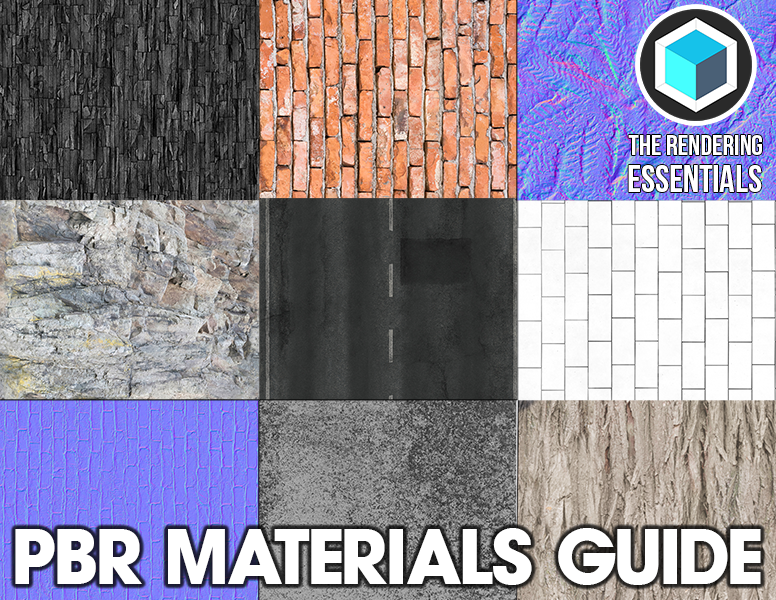
In this video, learn the basics of what makes up the way that materials look in Unreal Engine, as well as how to apply materials to actors in Unreal Engine.
In today’s video, I’m going to give you an introduction to working with materials in Unreal Engine.
To start off, there are a few terms that you need to understand when working with materials. The first is the Unreal Engine is a physically based renderer, meaning basically that we define the characteristics of the materials, then Unreal Engine uses those characteristics to realistically calculate how light would respond to those materials.
We do this by defining different things about the materials within the material editor, which we’ll talk about in just a minute.
The most important things that we’re going to define are:
- The Base Color – this sets the color of the material of your object – defined by 3 values – R, G, B.
- Metallic – this is going to define if the surface looks like metal or not. Generally speaking, this value will be either 0 or 1 unless you’re creating some kind of corroded/dusty surface
- Specularity is whether or not a non-metallic surface is able to reflect light. Good examples of this would be plastics. This is also a value between 0 and 1, with zero being non-reflective, and 1 being fully reflective.
- Roughness is going to affect how materials scatter light. Values of 0 (smooth) result in mirrored reflections, while values of 1 (rough) results in a material that scatters light when it hits the face. The best way I’ve heard to describe this is to compare Glass and Chalk materials. With a glass material, light would bounce right off, creating a reflection, while with a chalk material, the surface is really rough, and the light kind of bounces around within the chalk material, so you get no reflection at all.
- There are other attributes of materials as well, like emissive materials, which emit light, and normal maps, which give your material bumpiness, but we’re going to start off by creating and adjusting a material within the material editor.
To start off, let’s go ahead and add an example actor into our level from the Starter Content. If you don’t have the starter content loaded, you can go down into your content browser, add net, and add the starter content. Within the props section, there’s a little preview mesh object that we’re going to add to our level by dragging it in.
The easiest way to add a material to your actor is to simply drag the material in from your content browser. Let’s go ahead and add a brick_clay material to our object from the materials folder in the starter content.
You’ll notice that the object is broken up into two different kinds of colors. This is because there are two different “elements” contained within the materials in this object. These control colors of different parts of the actor. Notice that you can drag a different material in on top of the different elements to create different looks.

