In today’s video, we’re going to talk about adding custom texture images to your actors in Unreal Engine!
Adding Texture Images to Unreal Engine Materials
Last week we talked about how to create a simple custom material in Unreal Engine, as well as how to apply different materials to your various actors.
This week I want to talk about how to add custom texture images.
Let’s go ahead and start off by creating another example material. In this case, we’ll just right click and create a material, and call it something like “Shiny Tile.” Then, go ahead and drag it in and apply it to your object.
We can edit that by double clicking on our material. This will bring up the materials editor. You’ll note that right now, you have all the materials properties open, but nothing associated with them yet. We’re going to have to bring in a texture image to associate with our properties. In this case I’m going to bring in a tile material that I imported from Poliigon.com, but you can really bring in any image you like.
To do this, I’m simply going to drag it in from the folder where the image is kept. You could also import a folder full of images if you wanted to.
Now, I can drag that image into my material editor.
Note that that shows up now as its own section in the editor. There are a number of nodes coming off of this one, but in this case, we’re going to start by focusing on one – the texture sample. We’re going to drag this over and connect it to the base color node. Notice that when you do this, suddenly your material updates in the material preview, so that it’s now mapping your material on top of your preview sphere.
You may notice that this doesn’t update in Unreal Engine until we press the “Apply” button.
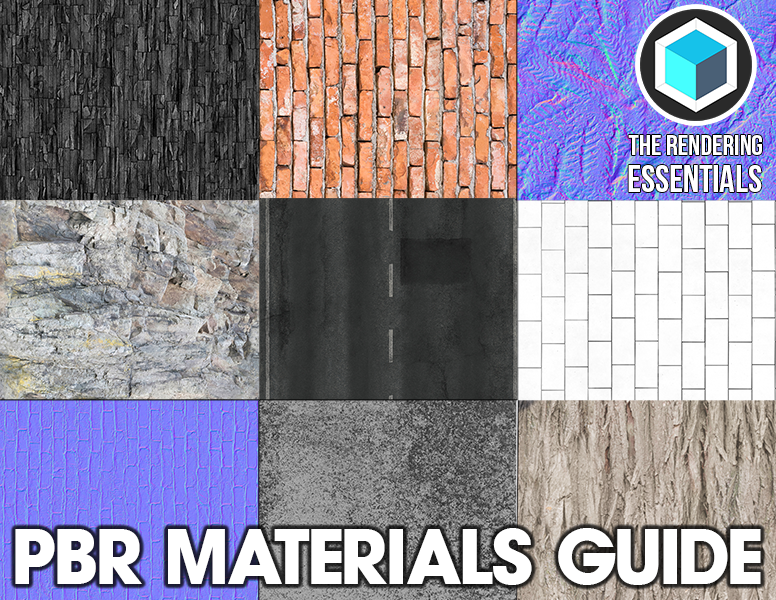
However, you’ll notice that the image so far isn’t that realistic, so we’re going to apply a few more things to adjust the way this material looks. To start off, let’s apply a normal map. Lots of material websites include a normal map that makes your surface look more bumpy and realistic. In this case, we’re going to drag our normal map over into our materials folder. Note that Unreal Engine recognized this as a normal map and imported it as such.
Now, let’s drag that over into our material editor. From there, simply connect the node from the normal map over to the ShinyTile material. You can see how now the material is showing some more bumpiness.
Finally, we can also plug some constant values into our metallic and roughness to adjust the way these materials look.
That’s a general overview – there are a lot more advanced things we can do that we can get into in the future, but this should at least get you started.


