CUSTOM MATERIALS in Unreal Engine with Texture Images – Unreal Engine Materials Tutorial Part 2
In today’s video, we’re going to talk about adding custom texture images to your actors in Unreal Engine!
Read More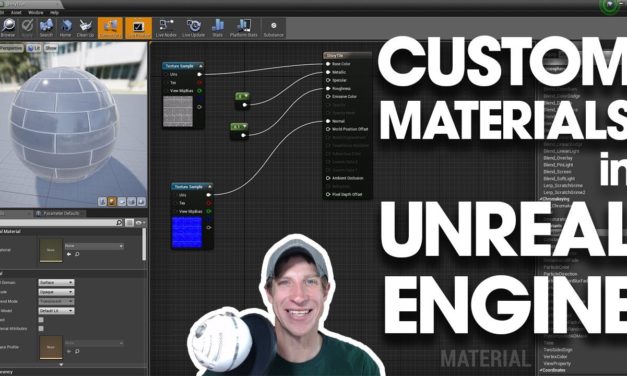
In today’s video, we’re going to talk about adding custom texture images to your actors in Unreal Engine!
Read More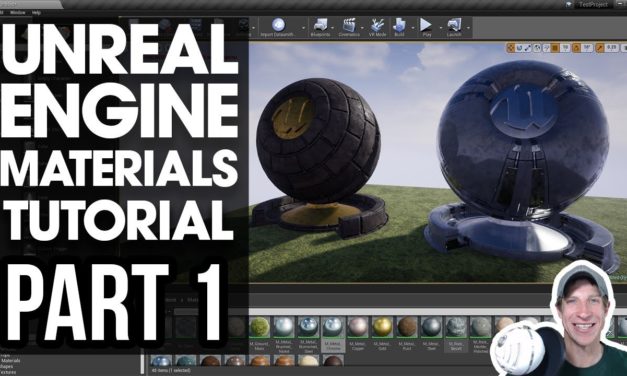
In this video, learn the basics of what makes up the way that materials look in Unreal Engine, as well as how to apply materials to actors in Unreal Engine.
MY YOUTUBE SETUP
https://kit.com/TheSketchUpEssentials/sketchup-modeling-and-youtube-creation-kit
Check Us Out on –
Website – http://www.therenderingessentials.com
Twitter – http://www.twitter.com/easyrenders
Disclaimers: all opinions are my own, sponsors are acknowledged. Product Links in the description are typically affiliate links that let you help support the channel at no extra cost.
In today’s video, I’m going to give you an introduction to working with materials in Unreal Engine.
To start off, there are a few terms that you need to understand when working with materials. The first is the Unreal Engine is a physically based renderer, meaning basically that we define the characteristics of the materials, then Unreal Engine uses those characteristics to realistically calculate how light would respond to those materials.
We do this by defining different things about the materials within the material editor, which we’ll talk about in just a minute.
The most important things that we’re going to define are:
1. The Base Color – this sets the color of the material of your object – defined by 3 values – R, G, B.
2. Metallic – this is going to define if the surface looks like metal or not. Generally speaking, this value will be either 0 or 1 unless you’re creating some kind of corroded/dusty surface
3. Specularity is whether or not a non-metallic surface is able to reflect light. Good examples of this would be plastics. This is also a value between 0 and 1, with zero being non-reflective, and 1 being fully reflective.
4. Roughness is going to affect how materials scatter light. Values of 0 (smooth) result in mirrored reflections, while values of 1 (rough) results in a material that scatters light when it hits the face. The best way I’ve heard to describe this is to compare Glass and Chalk materials. With a glass material, light would bounce right off, creating a reflection, while with a chalk material, the surface is really rough, and the light kind of bounces around within the chalk material, so you get no reflection at all.
5. There are other attributes of materials as well, like emissive materials, which emit light, and normal maps, which give your material bumpiness, but we’re going to start off by creating and adjusting a material within the material editor.
To start off, let’s go ahead and add an example actor into our level from the Starter Content. If you don’t have the starter content loaded, you can go down into your content browser, add net, and add the starter content. Within the props section, there’s a little preview mesh object that we’re going to add to our level by dragging it in.
The easiest way to add a material to your actor is to simply drag the material in from your content browser. Let’s go ahead and add a brick_clay material to our object from the materials folder in the starter content.
You’ll notice that the object is broken up into two different kinds of colors. This is because there are two different “elements” contained within the materials in this object. These control colors of different parts of the actor. Notice that you can drag a different material in on top of the different elements to create different looks.
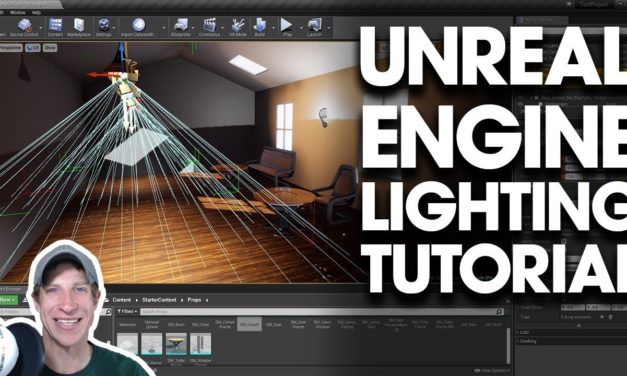
In this video, learn the basics of lighting your levels in Unreal Engine. We’ll talk about directional lights for your exteriors, as well as point lights, spot lights, and rectangle lights for your interiors!
Read More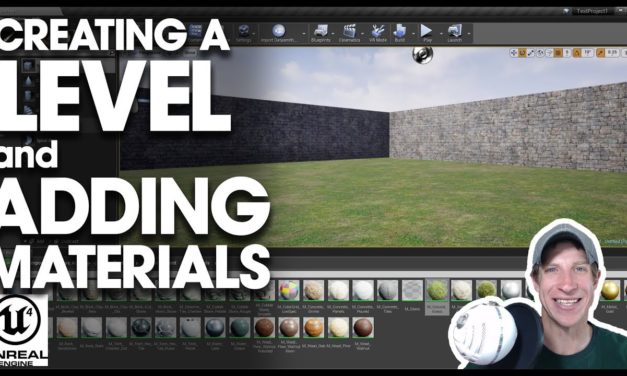
In this tutorial, learn how to create a level in Unreal Engine using the box brush, and how to import and apply materials to your level!
MY YOUTUBE SETUP
https://kit.com/TheSketchUpEssentials/sketchup-modeling-and-youtube-creation-kit
Check Us Out on –
Website – http://www.therenderingessentials.com
Twitter – http://www.twitter.com/easyrenders
Disclaimers: all opinions are my own, sponsors are acknowledged. Product Links in the description are typically affiliate links that let you help support the channel at no extra cost.
Last week we talked a bit about adding objects to your Unreal Engine Levels – this week, we’re going to use those objects to create a very basic level, then try to apply some of the starter content materials to those objects.
To start off, we’re going to create a new level. To do this, open your project, then go up to file,”new level,” and select the template for “Default.” This will bring in the basic template containing the controller, etc.
Now what we’re going to do is we’re going to build our level using the box brush. This is a brush contained in the modes section under geometry, and the reason we’re going to use it is that it contains some settings that we can adjust using the brushes section of our details.
Go ahead and drag a box in from your modes section. Notice that when you select it, you can scroll down in the details section and adjust the size of the box using the brush settings.
Let’s go ahead and delete out our default ground plane, and set this box to 1000 x 1000 x 10
Now, let’s start creating our walls. We could either drag another box brush in, or we could click on this box, hold the “alt” key, and drag in order to make a copy. Now with this new copy, let’s adjust it so that it fits along one side of our ground, so give it a length of 1000, a thickness of 10, and a height of 200.
Now create a copy and move it along the other wall, then select those two, copy them again, then use the rotate function to rotate them 90 degrees.
One other function that you might find useful is that you can tap the end key to snap your walls down to whatever surface is beneath them, so if you end up adjusting your walls, you can lift them up in the air, then move them where you want them, then snap them back down.
Now we have a very basic level that we’ve created. Now let’s add some materials to it.
For now, we’re going to use the content starter pack that comes with Unreal Engine – this is very useful and contains a fair number of textures and other objects you might find useful.
The best way to find this is to go down to your content browser, go to “add new,” and go over to the button for “Content Packs,” and find the “Starter content” pack.
Go ahead and click “Add to project.”
You can then drag those materials onto different faces within Unreal Engine!
Read More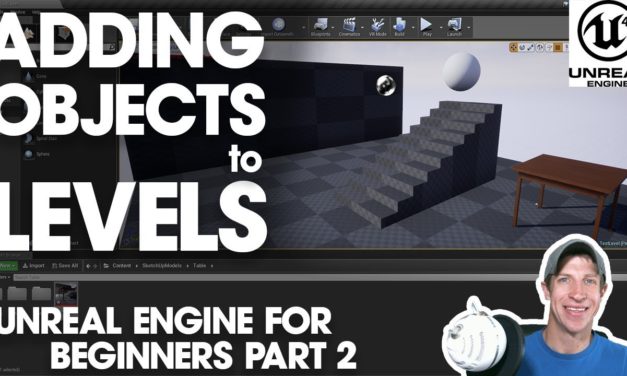
In this video, I want to talk a bit about adding different objects, or actors, into your Unreal Engine Levels. In this case, we’ll talk about different kinds of objects you can add, as well as actually adding some objects into our level.
MY YOUTUBE SETUP
https://kit.com/TheSketchUpEssentials/sketchup-modeling-and-youtube-creation-kit
Check Us Out on –
Website – http://www.therenderingessentials.com
Twitter – http://www.twitter.com/easyrenders
Disclaimers: all opinions are my own, sponsors are acknowledged. Product Links in the description are typically affiliate links that let you help support the channel at no extra cost.
In this video, I want to talk a bit about adding different objects, or actors, into your Unreal Engine Levels. In this case, we’ll talk about different kinds of objects you can add, as well as actually adding some objects into our level.
If you remember from our last tutorial, any object you can add to a level is called an actor. Let’s go over a couple different ways you can add actors into your levels.
To start off, you can add various different actors to your levels from the “modes” menu. The modes menu contains a number of different kinds of things you can add to your levels, like basic geometry, stairs, lights, and more.
To add an actor to your level using the modes menu, simply click and drag an object into your level. Once your object is in your level, you can then move it around using the various tools within your viewport.
The viewport contains 3 transformation widgets that you can use to adjust actors within your level –
The translation widget allows you to move objects around
The rotation widget allows you to rotate different objects
The Scaling widget allows you to adjust the size of different objects
If you’re looking for a more control over your adjustments, you can use the geometry editing mode of the modes toolbar, which we’ll discuss more in a future video.
Note that you can use this to add things like lights to your levels as well as geometry.
You can adjust the properties of actors you’ve added to your levels using the details section.
As a bit of a teaser for a future video, you can set Unreal Engine to simulate physics on different objects, allowing you to add actively moving and reacting actors into your Unreal Engine levels.
In addition to being able to add more primitive geometry using the modes section, you can also import content using the content browser. This can be especially useful for bringing in geometry that you’ve created from 3rd party modeling programs, like SketchUp, 3DS Max, Maya, etc.
Let’s say, for example, that I create a model using SketchUp that I want to bring in to Unreal Engine using Datasmith. I would export that model using the datasmith exporter (video link below), then import it using Datasmith.
This would then show up as an object within my content browser, which I could then click and drag directly into my level. In this way, you can bring in outside models as actors into your Unreal Engine Level. You could also model the different actors for your level completely in outside 3D modeling programs, then bring them in for later use.
That’s kind of an overview of bringing different actors into Unreal Engine – leave a comment below and let me know what you thought – is this helpful to you?
In this getting started tutorial for Unreal Engine 4, learn how to create your first project in Unreal Engine!
DOWNLOAD UNREAL ENGINE
http://www.unrealengine.com
SKETCHUP DATASMITH TO UNREAL ENGINE TUTORIAL
https://www.youtube.com/watch?v=uhw2DwcoXr8
MY YOUTUBE SETUP
https://kit.com/TheSketchUpEssentials/sketchup-modeling-and-youtube-creation-kit
Check Us Out on –
Website – http://www.therenderingessentials.com
Twitter – http://www.twitter.com/easyrenders
Disclaimers: all opinions are my own, sponsors are acknowledged. Product Links in the description are typically affiliate links that let you help support the channel at no extra cost.
Getting Started with Unreal Engine –
Setting up and organizing a project
One thing that’s going to be really important when working with Unreal Engine is keeping your files organized so that you know where to find everything. Unreal Engine will create a folder in your My Documents folder for all of your Unreal Projects, so that’s definitely an option.
You can also right click and select the “Show in Explorer” function to see where your files are.
When you first create a project in Unreal Engine, you’ll be given a couple options. The first is the kind of template you’re going to use. Basically, these templates will import different kinds of controllers and other features based on what you select. Generally speaking, these seem to affect more the type of navigation and controller within your projects.
If you’re looking for a more simple, easy to use experience, load one of the Unreal Studio files. These are designed to be a bit simpler, and don’t really require as much programming knowledge.
Notice there are two options – a blank file, and a file that’s designed more for product viewing, etc. The product viewer has some controllers and other things and is a good starting point for an architectural project.
There are a couple definitions to go over really quick. The “Project” is the file you create that contains everything else – it contains all the content and code within your “game” needed to make it run.
Within the project, you have different level – these basically contain the different scenes and objects that the player or user will experience within your project. You can have multiple levels, though it’s likely that if you’re creating architectural visualizations, you’ll probably only have one level in your project files.
The objects or items contained within levels are known as actors – anything you place in your level, from a house model, to different lights, etc will be known as an actor.
Down below, you can set where your project file will be located.
Go ahead and select a blank template and create a project. This may take a little while.
Now, let’s take a look at the different windows contained in the Unreal Engine Level Editor. This may look a bit different depending on your settings, but this is the area where you will do all your editing of your different objects within Unreal Engine.
1. Tab and Menu bar
This section allows you both to access your menu bar, as well as tabs for any different levels you’re working on within Unreal.
2. Toolbar
The toolbar contains commands designed to allow you access to various tools. Notable within this toolbar is the ability to live play your level, import Datasmith files from an external program, and more!
3. Modes
The modes section contains a series of tools that you can use to add different objects to your level.
4. Content Browser
The content browser is where you can manage all of your different assets within Unreal Engine. You can see file locations, folders, etc – basically what’s in your content browser is going to correspond with what’s in your project file.
5. Viewports
Your viewport section is where you can see the current level that you’re working with. Note that you can turn multiple viewports on at once within Unreal Engine. Note that there are a ton of different camera filters, etc contained in this section. You can fly around in this section using the WASD keys.
6. World Outliner
The world outliner is very similar to the outliner tab within SketchUp – it allows you to see the different objects contained within your model, as well as allowing you to quickly select them to change their properties.
7. Details
The details section contains information about the object currently selected in your viewport.
In the next video, we’ll go through adding some different objects to our model.

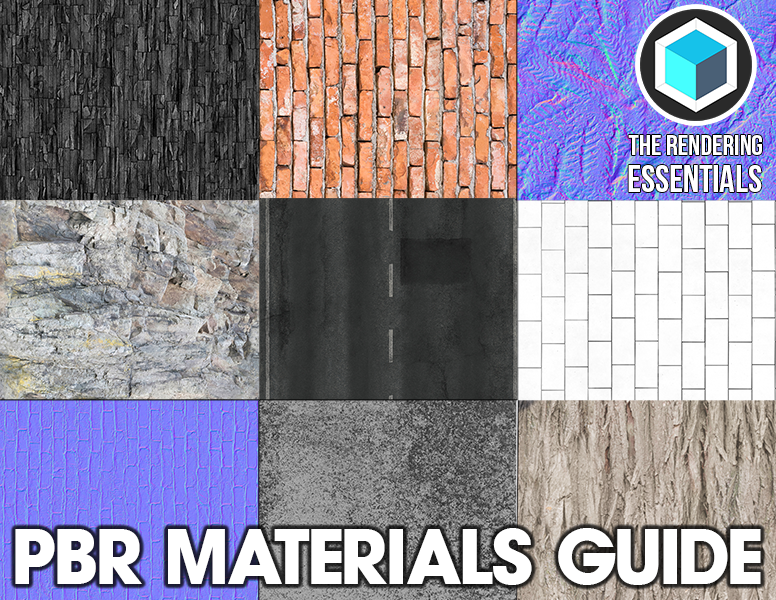 Check out my guide to creating realistic materials in your renderings with PBR materials. Learn how maps can make your materials more realistic, and get links to sites where you can download the best PBR materials (including some for free!)